Guides · Zapier
Connect formbase to Zapier
Zapier signs in to one formbase workspace. You do this once; every Zap that uses formbase can then pick the same connection.
Last checked
Before you start
- A formbase account that is a member of the workspace you want to connect.
At least one published form in that workspace. Zapier lists unpublished forms too, marked (not published), but only a published form sends events and can be requested.
- A Zapier account. Any plan works for connecting.
1. Add formbase to a Zap
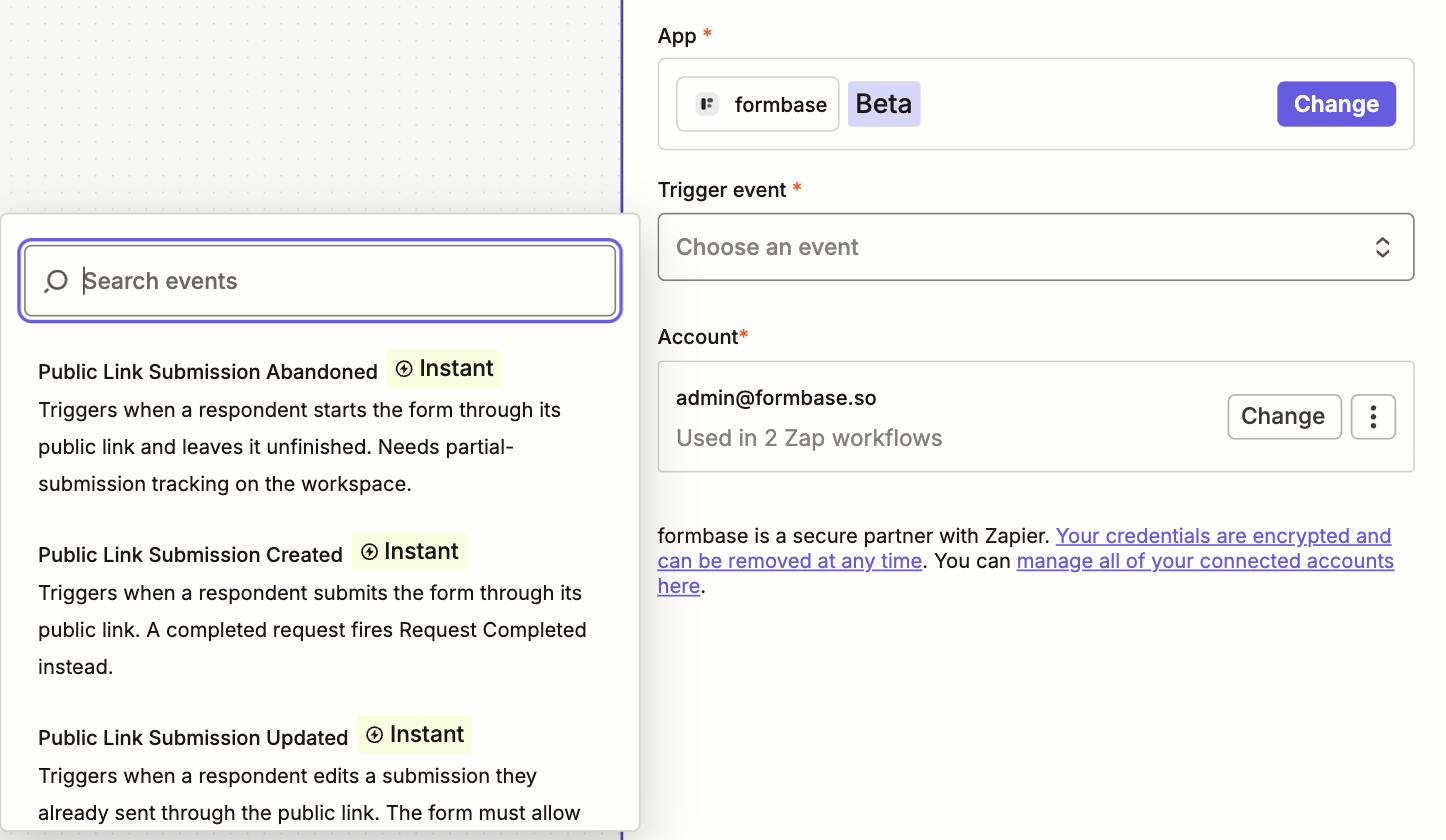
In Zapier, click Create › Zaps, then click the trigger or action step and search for formbase. Pick any event for now; you can change it later. The list shows what the app can do:
2. Sign in to formbase
Under Account, click Sign in (or Change › Connect a new account if you already have one). Zapier opens a window; click Connect.
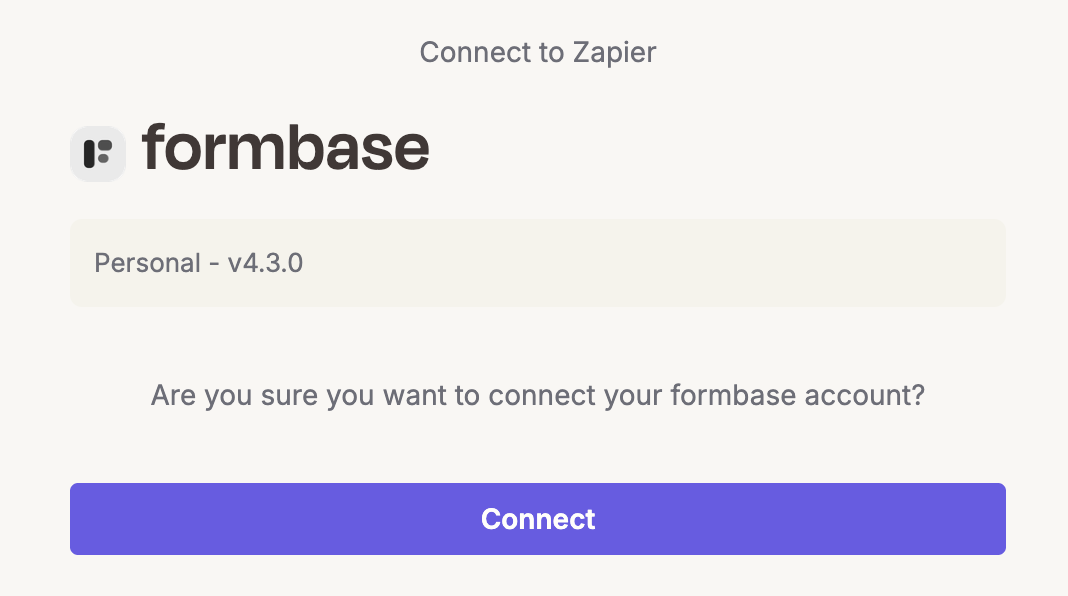
If you are not signed in to formbase in this browser, formbase asks you to sign in first. Then it shows what Zapier may do and asks which workspace to connect.
3. Pick the workspace and authorize
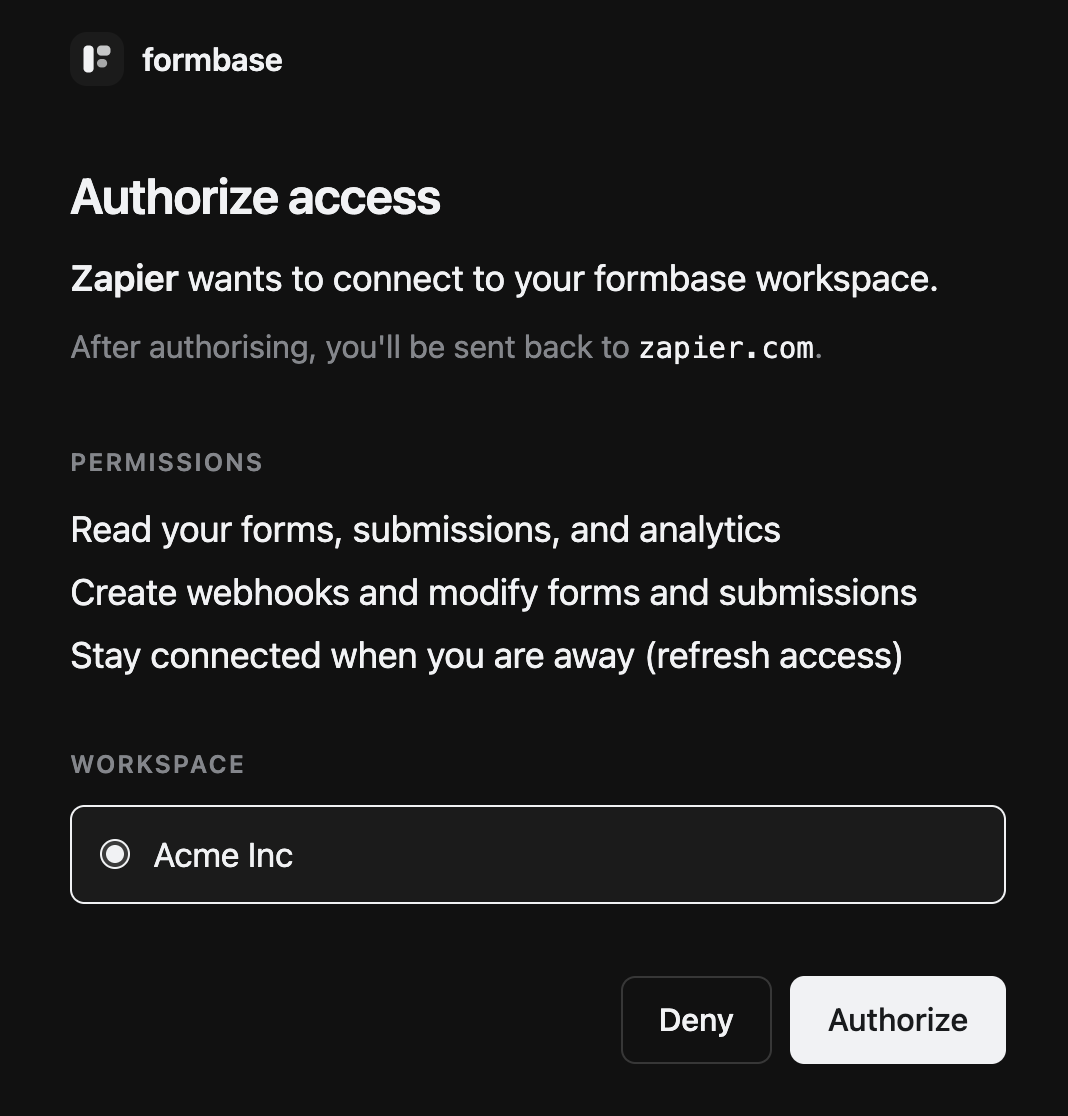
Choose the workspace under Workspace and click Authorize. The window closes and the account appears in the step, named after your formbase email.
One connection, one workspace
To use a second workspace, connect a new account and pick the other workspace on this screen. Zapier then shows both connections, and each Zap step uses the one you choose.
4. Check the connection
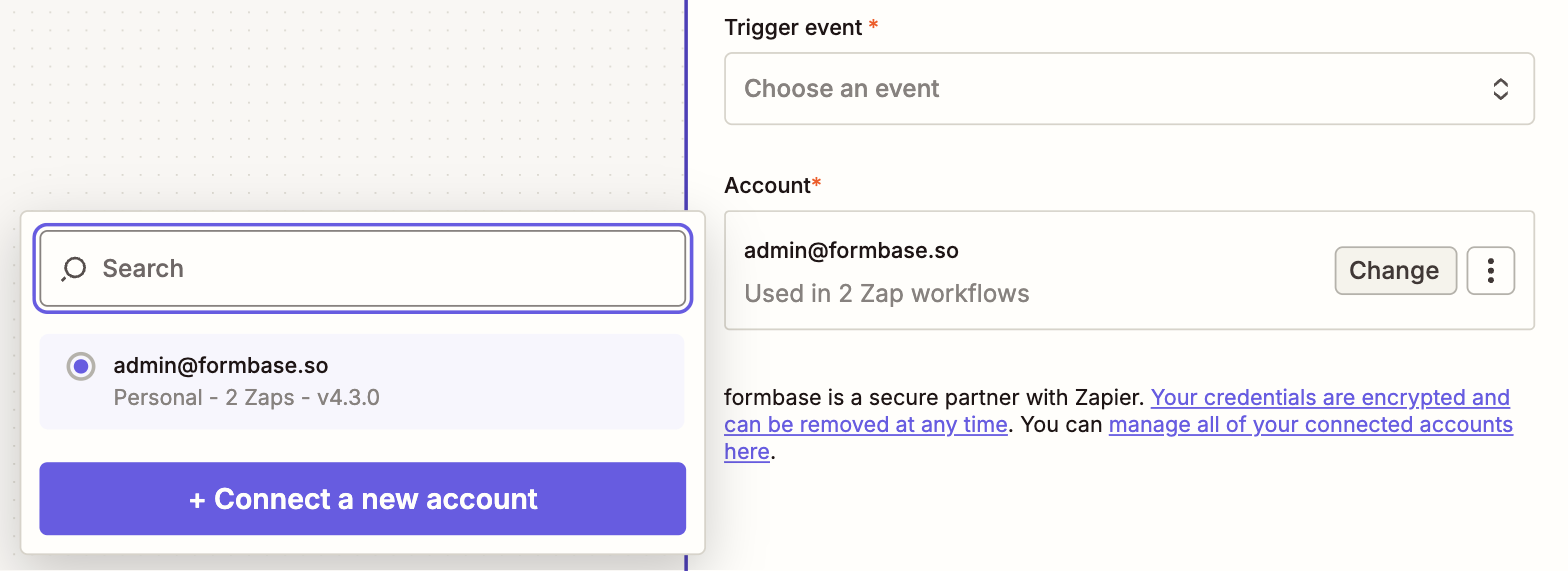
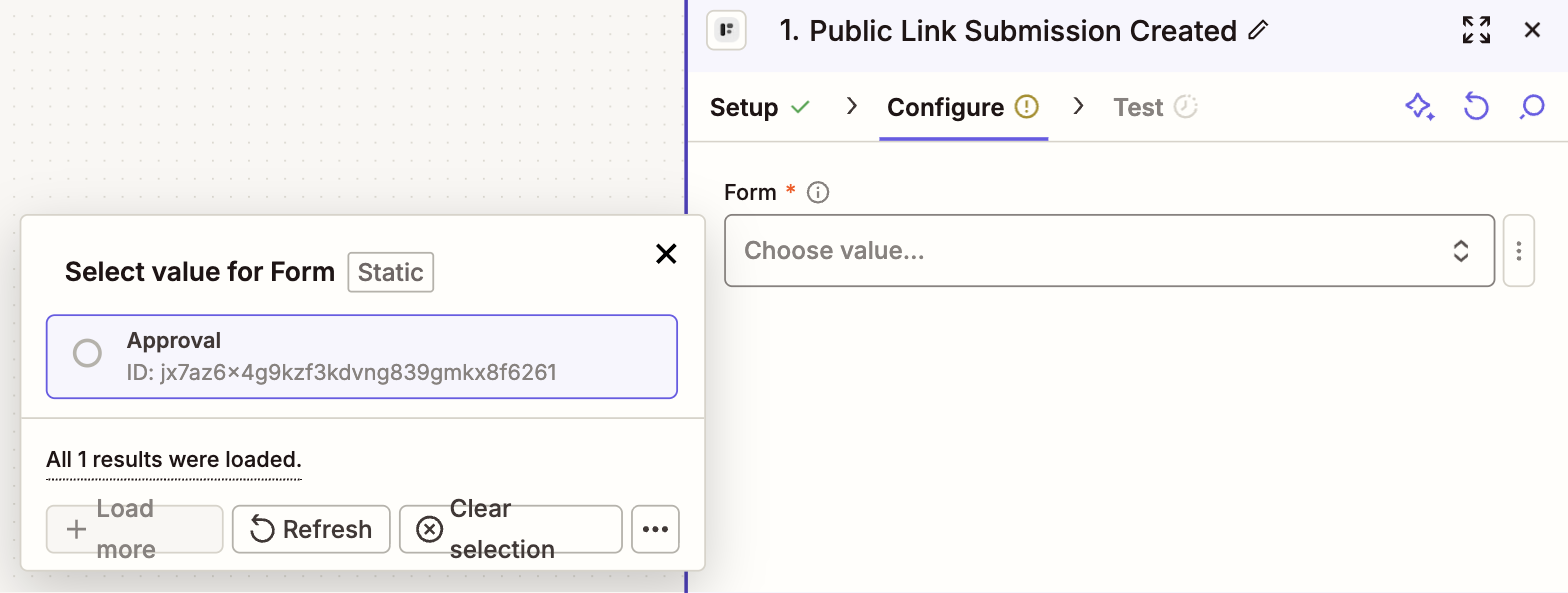
Pick an event and continue to Configure. The Form dropdown lists the forms of the connected workspace:
Disconnect
In Zapier, open App connections, find formbase, and remove the connection. Zaps that use it stop until you connect formbase again and pick the new connection in each of them.
Removing it in Zapier does not end Zapier’s access on the formbase side. In formbase, open OAuth and API Keys and click Disconnect next to Zapier under Connected apps as well.