Guides · Zapier
Send public link submissions to another app
This guide builds a two-step Zap: a new submission to the Approval form sends an email. Swap the email step for Google Sheets, Slack or your CRM; the trigger side stays the same.
Last checked
You need a formbase connection in Zapier and a published form with a share link. A submission to a request link does not start these Zaps; see Act on a request’s outcome for that.
1. Pick the trigger
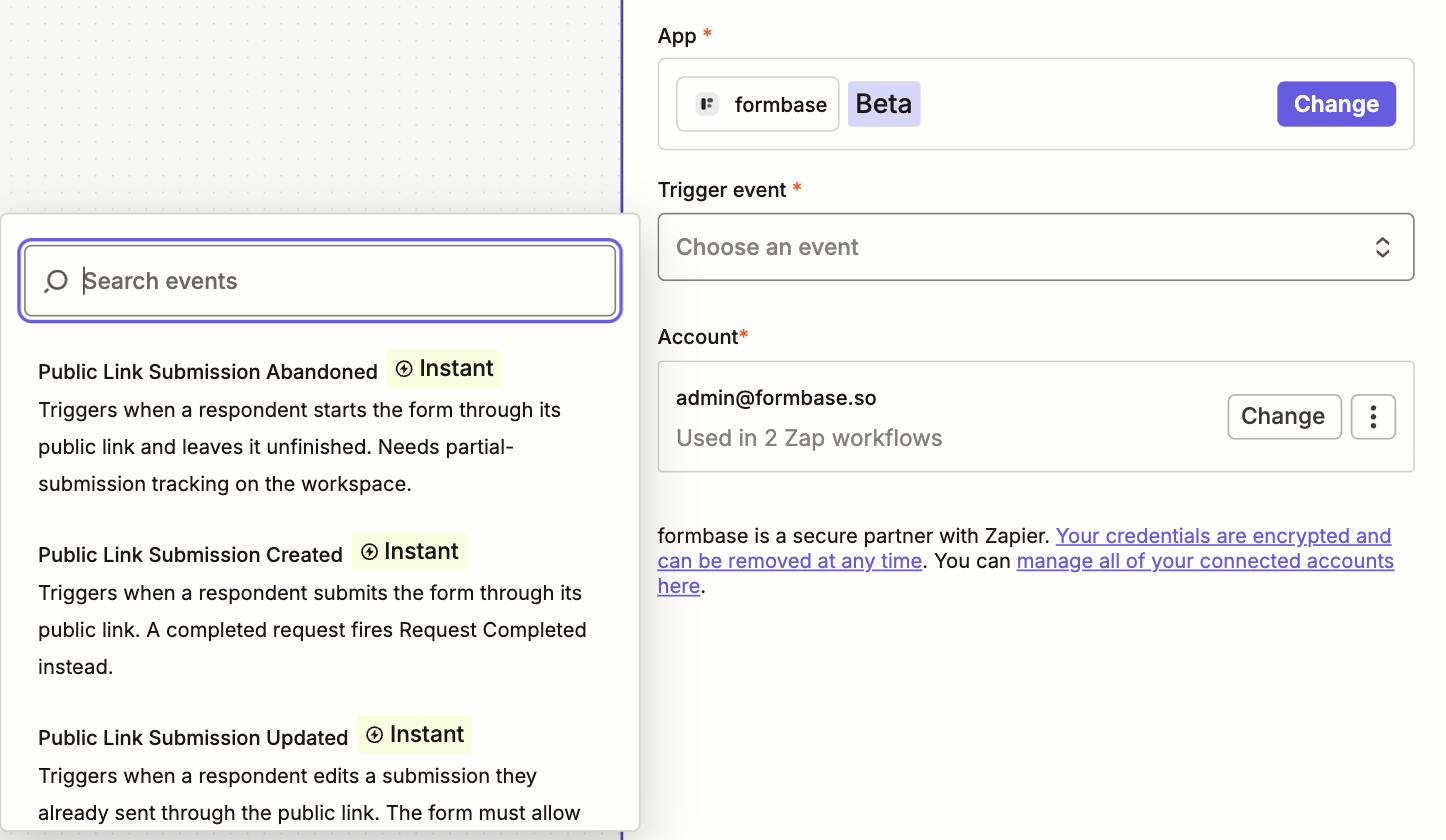
Create a Zap, choose formbase as the trigger app, and pick one of the three public link events:
| Trigger | Fires when | Needs |
|---|---|---|
| Public Link Submission Created | A respondent submits the form through a share link. | Nothing extra. |
| Public Link Submission Updated | A respondent edits a submission they already sent. | Edit after submit turned on for the form. |
| Public Link Submission Abandoned | A respondent starts the form and leaves it unfinished for the time you choose, from 12 hours to 1 week. | A Pro or Business plan, which saves partial submissions. |
2. Choose the form
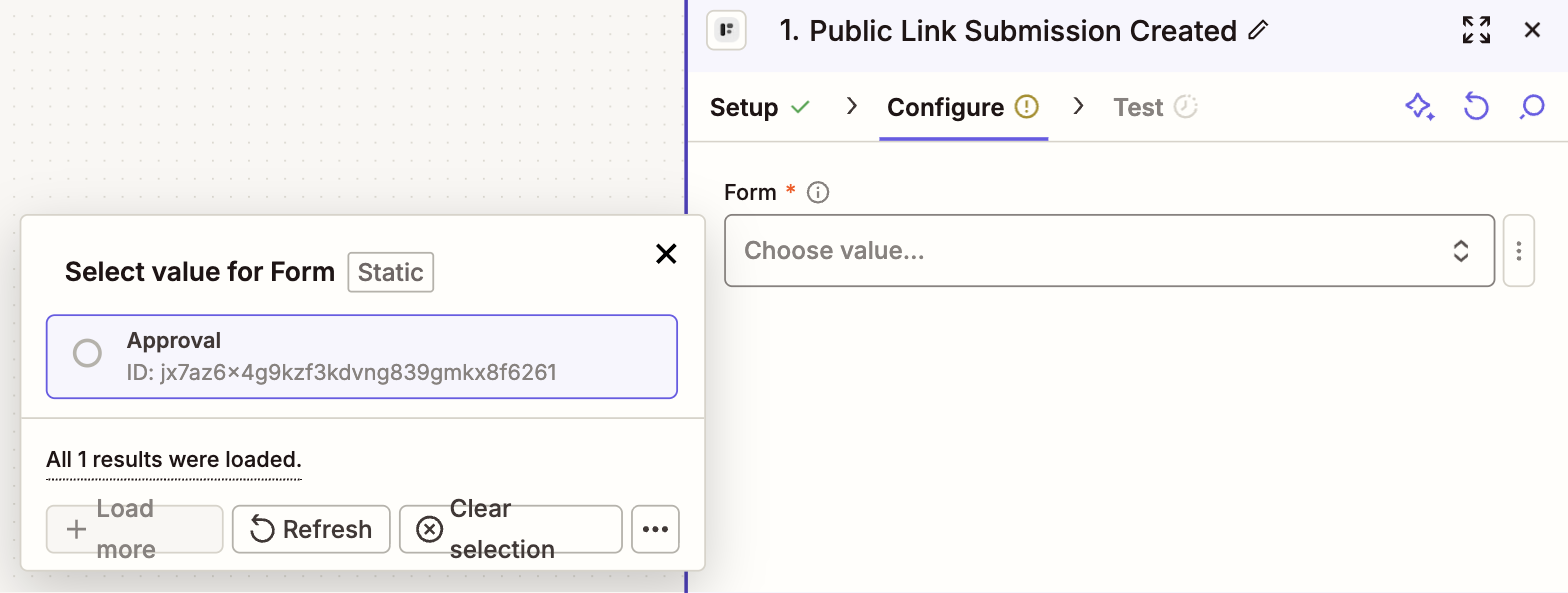
Pick your account, click Continue, and choose the form under Form. For the Abandoned trigger, also set Consider submission abandoned after. formbase checks once an hour, so the Zap can start up to an hour after that time.
3. Test the trigger
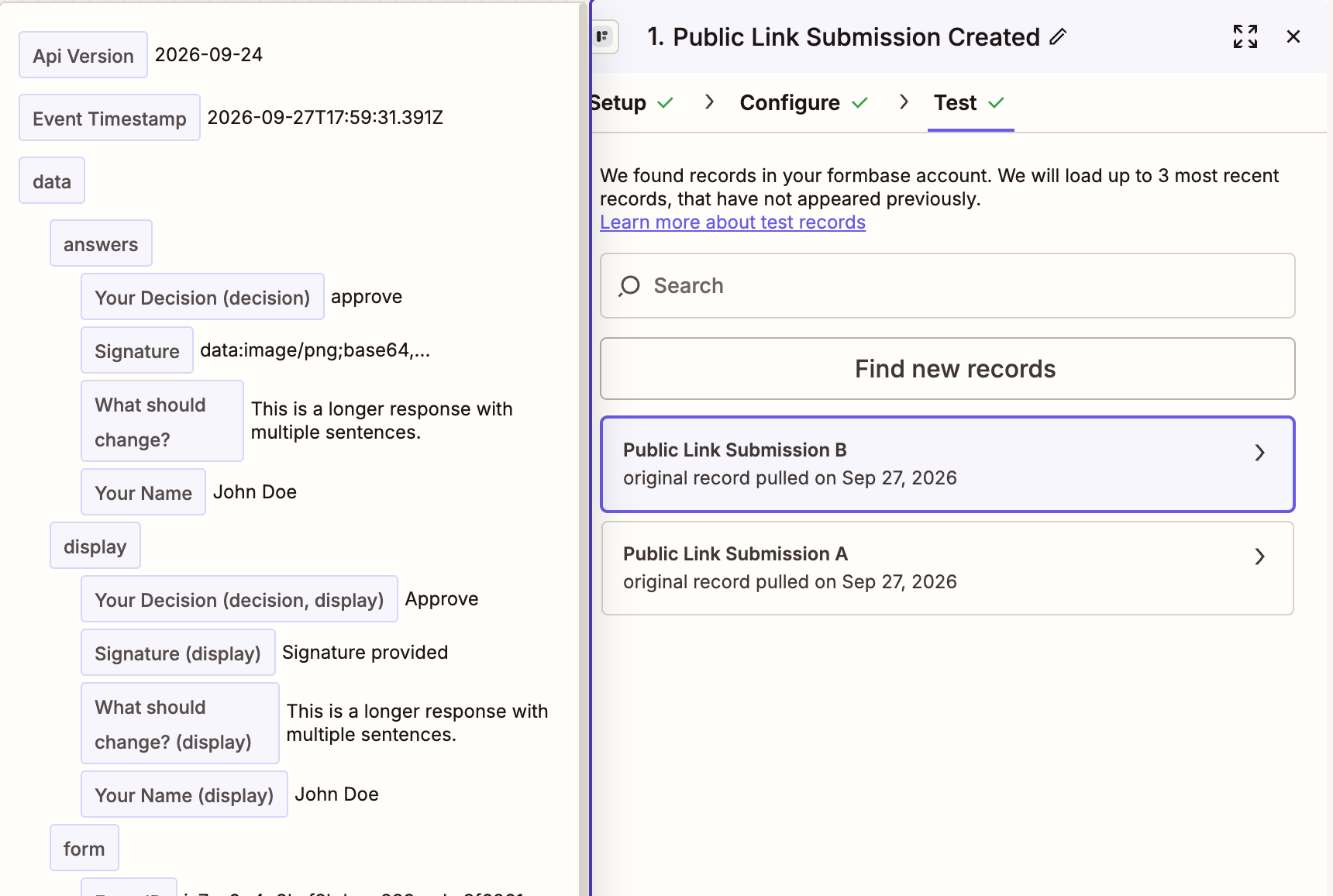
Click Continue, then Test trigger. Zapier loads a record such as Public Link Submission A. Open it to see the fields you can map:
The test record is a sample
It carries every question of the form with made-up answers, so you can map fields before anyone has submitted. Real runs carry the
respondent’s answers. The sample has Test Event set to true; real submissions have false.
Every answer appears twice:
answers holds the value a workflow compares: the option key of a choice, like
approve, a number, a date.display holds the text a person reads: the option’s label (
Approve), a formatted date.
Where a field key reads differently from its question title, the label names the key in parentheses:
Your Decision (decision) is the question whose field key is decision.
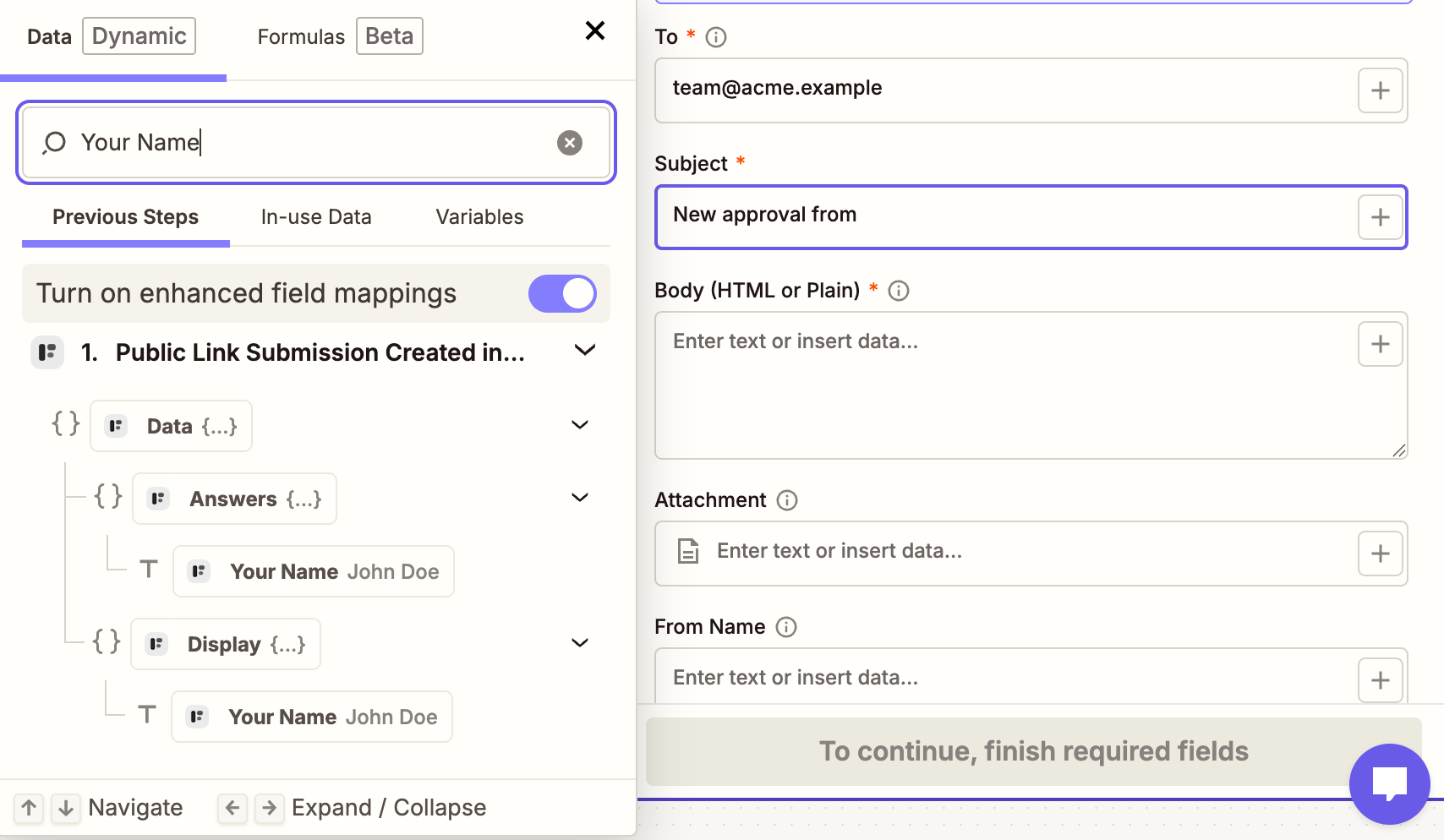
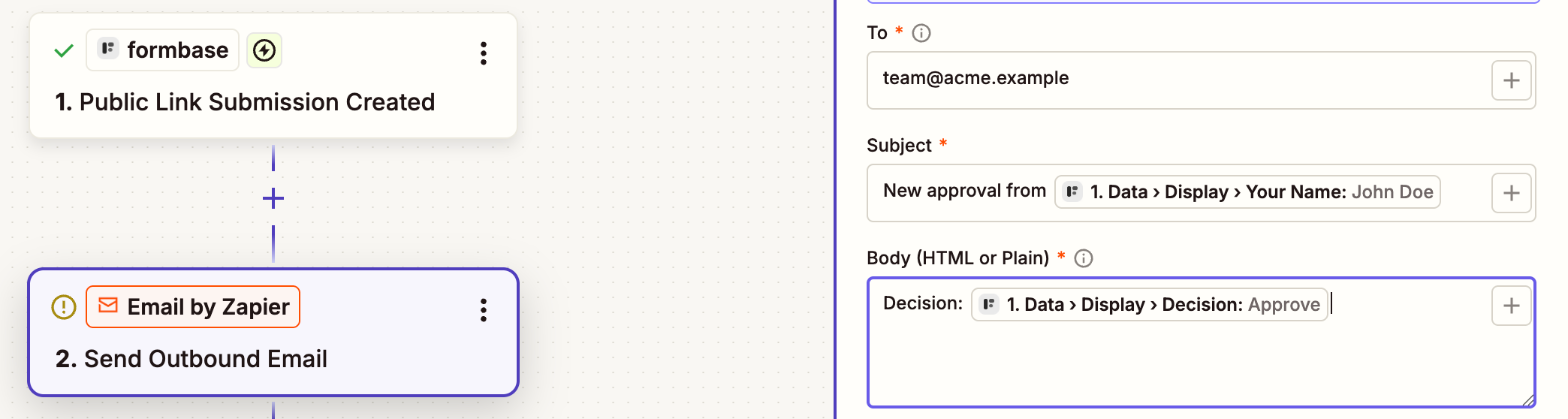
Once mapped, a field shows its key path, such as Data › Display › Decision.
Use display in messages and answers in filters and lookups. The full shape of both is in the webhooks reference.
4. Add the action and map the fields
Click Continue with selected record and add the action. This guide uses Email by Zapier ›
Send Outbound Email. In each field, type / or click + and search for the question by its
title:
5. Publish and check a real run
Click Publish. Open the form’s share link, submit it, and open Zap history in Zapier. The run appears within seconds:

Open the run to see the real answers the Zap received.
If the Zap does not start
The form was submitted through a request link. That fires Request Completed, not Public Link Submission Created.
The Zap is off. A draft never runs. Check the toggle next to the Zap’s name.
The Zap uses another connection. The trigger listens to the form in the workspace its connection points at.